
What a Full Defender Restoration Actually Involves: Chassis-Up Process Explained
Most buyers requesting quotes for a full Defender restoration receive a price and very little else. No stage breakdown, no quality gates, no explanation of what separates a £40,000 rebuild from one costing twice that. The result is a market where buyers compare numbers without the framework to understand what those numbers actually represent.
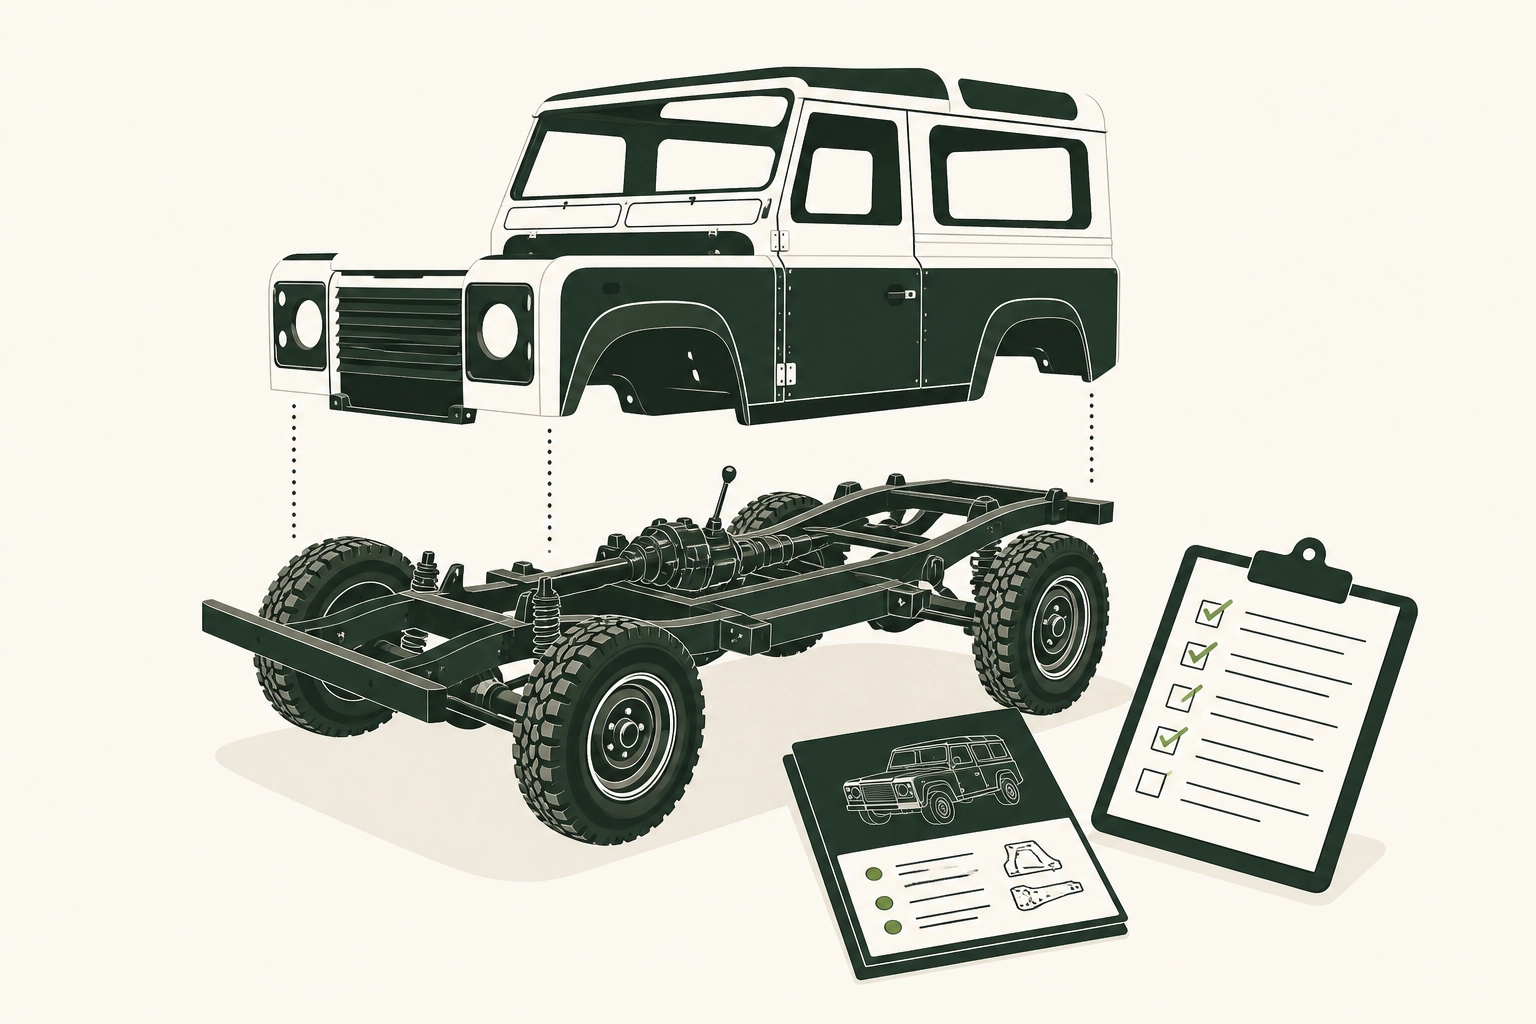
This is the problem advanced restoration services exist to solve, and it is precisely what this guide addresses. A chassis-up Defender restoration is a sequential, documented process involving discrete stages that must happen in the correct order, each one creating the foundation the next stage depends on. Compress the sequence, skip the assessment points, or use substitute materials and the compromise compounds through every subsequent stage until it reaches the finished vehicle.
What follows is a complete walkthrough of that process using the same workshop language used at Pods Overland: from bare chassis assessment through drivetrain rebuild, body preparation, electrical integration, and final specification. By the end, you will have the framework to evaluate any workshop’s quote, identify where corners are being cut, and understand exactly what a properly executed restoration delivers.
Stage 1: Strip-Down and Bare Chassis Assessment
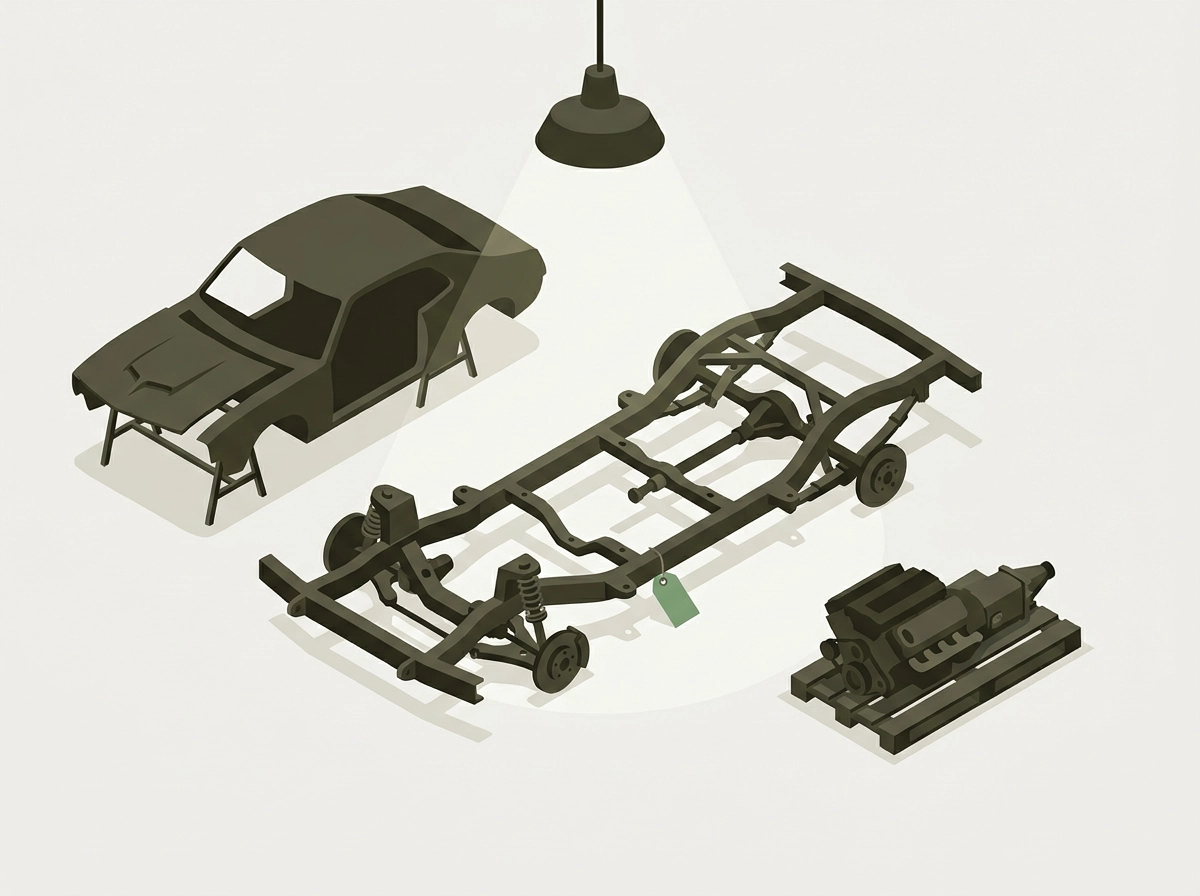
No quote issued before full strip-down is anything more than a working estimate. Until the body is off, the drivetrain is out, and the chassis is exposed for inspection under workshop lighting, no specialist, regardless of experience, can tell you with certainty what the vehicle will require or what it will cost. Any workshop that hands you a fixed price before that stage is either guessing or has already decided which corners it will cut to protect its margin.
Strip-down is where the actual restoration begins. As each assembly is removed, technicians document what they find: photographs at every identified failure point, written condition reports that record location, severity, and remediation options. This is not administrative box-ticking. It is the only mechanism that lets a buyer understand what they are actually authorising.
The failure zones on any Defender built across the original production run are predictable. The rear crossmember corrodes where its layered steel sections meet, trapping moisture and road salt in areas that received little or no protective coating from the factory. Rear outriggers follow the same pattern. The front bulkhead mounting points, the body mount areas, and the mid crossmember where the rear A-frame attaches are each locations where trapped contamination accelerates corrosion from the inside out, often leaving an exterior that looks marginal while the structural section behind it has collapsed entirely.
What is found at this stage determines everything that follows. Chassis repair scope, body panel sequencing, drivetrain disassembly timeline, and the feasibility of the buyer’s intended specification are all downstream of what the bare chassis reveals. A vehicle that presents as a solid project can require an entirely different scope of work once the structure is exposed.
A specialist committed to from bare chassis to the end of the road will stop here, compile findings, and present them to the buyer before authorising the next phase. That pause is a quality gate. It ensures the buyer understands the actual scope and consents to it before costs accumulate.
Workshops that skip it and proceed directly from receipt to disassembly to remediation without a documented handoff are absorbing the uncertainty somewhere. In a budget restoration, that somewhere is usually the quality of later stages.
Stage 2: Chassis Repair or Replacement
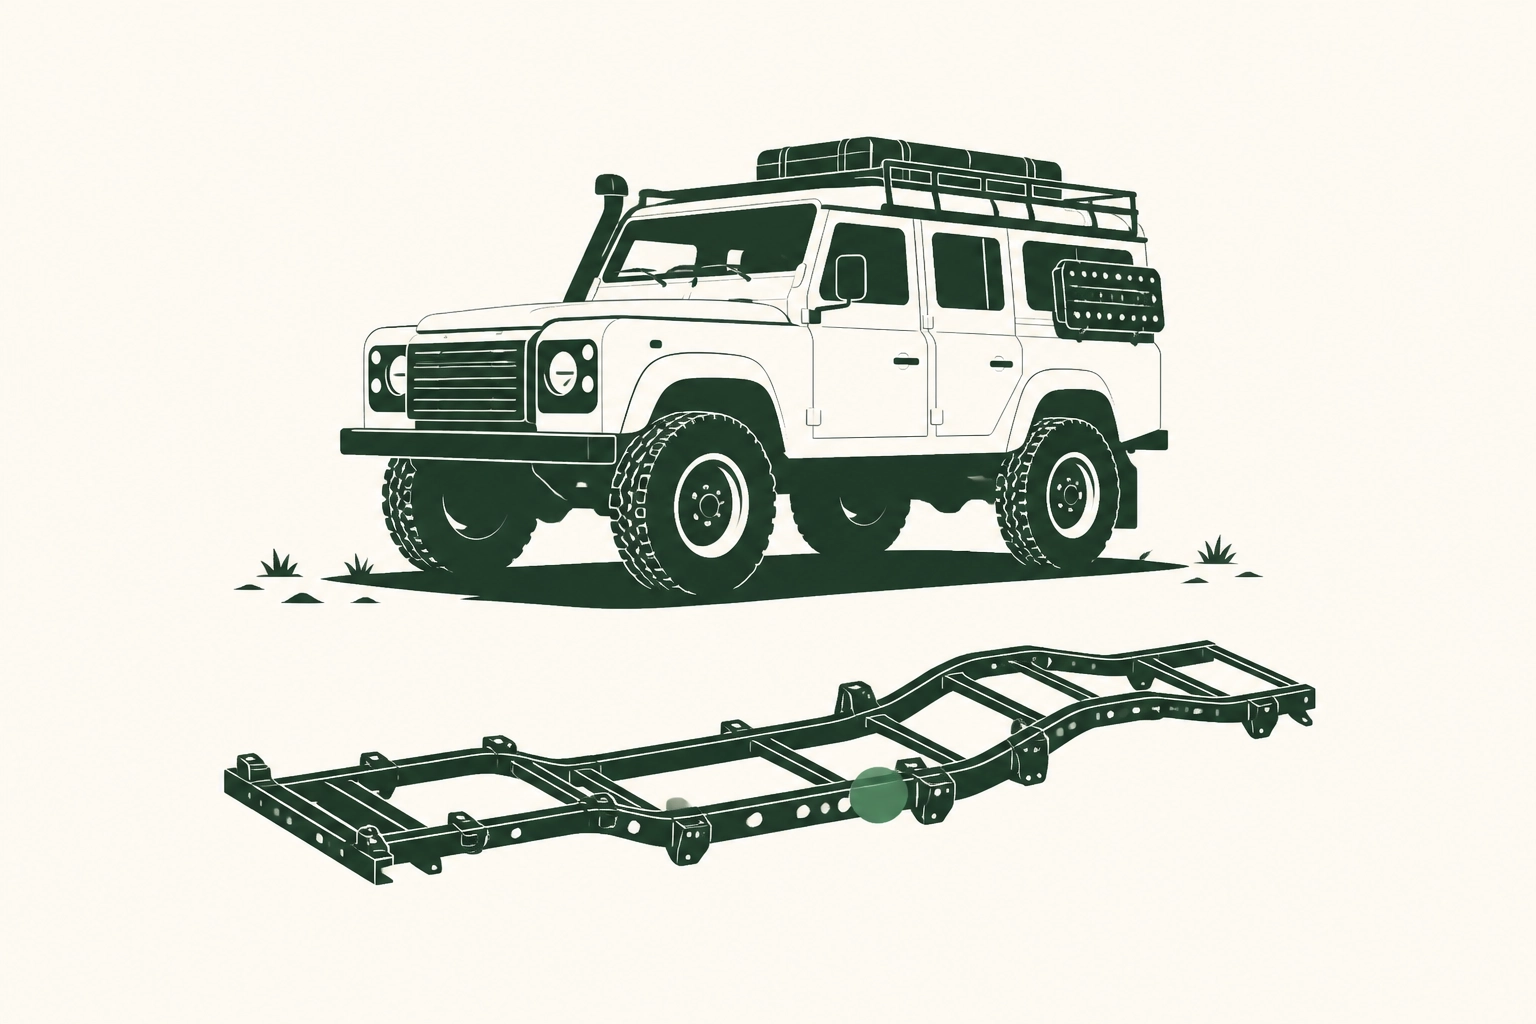
Once the strip-down report is in hand, the findings drive an immediate structural decision: repair the original chassis or replace it entirely with a new galvanised unit.
The repair-versus-replace threshold is determined by three factors: corrosion depth relative to remaining wall thickness, the extent of structural section loss at load-bearing joints, and the vehicle’s intended use. A Defender destined for serious off-road or expedition work demands a higher structural standard than one kept for road use; marginal chassis that might pass an MOT will not reliably absorb the torsional loading of prolonged field use.
Galvanised replacement chassis, produced by UK specialists using heavier-gauge British steel, offer a known starting point with a long-term corrosion warranty and no hidden defects. A repaired original chassis can reach comparable longevity, but only if every affected section is properly cut out, replaced in matching material, and protected to the same standard as a new unit. There is no shortcut that closes that gap.
Outrigger and crossmember replacement is standard practice on any Defender with meaningful history. These sections corrode from the inside, and what looks marginal on the surface is frequently worse beneath it. Leaving suspect metalwork in place because it passes a visual check is the single most common structural compromise in budget restorations.
Weld quality at repair sections is where tier-one specialists and low-cost operators diverge most sharply. Porosity in the weld bead, undersized runs at structural joints, and untreated internal box sections are all failure points that will be invisible once the chassis is painted and undersealed. There is no way to assess this after the fact; it can only be controlled during the work, which is precisely why photographic documentation at this stage matters.
The protection sequence is equally consequential. A rigorous process addresses every surface in sequence, bare metal preparation, primer, cavity treatment, and underseal, applied before any subsequent assembly obscures access. Budget restorations routinely reduce this to a single underseal coat applied at the end. The difference in corrosion resistance over a ten-to-fifteen year horizon is significant.
This stage sets the structural lifespan of everything built above it. No amount of quality in the drivetrain, body preparation, or final specification can compensate for compromised metalwork at the foundation.
Stage 3: Bulkhead Assessment and Repair
With the chassis decision resolved, attention moves immediately to the bulkhead, and this assessment must run in parallel, not in sequence. A workshop that finishes chassis work before evaluating the bulkhead has already compromised the build timeline.
The bulkhead is a structural component. It carries the windscreen frame, provides the mounting architecture for the dashboard and pedal box, and contributes to the vehicle’s overall torsional rigidity. Treating it as a simple firewall is a misreading of its role, and restorations that approach it that way typically show the consequences in fit and finish within a few years.
Where Bulkheads Fail
Corrosion follows predictable paths. The lower corners and floor section trap road moisture and debris, corroding from the inside outward, which means surface condition alone will not reveal the true extent of damage. The A-post bases are a critical point: internal rust here is often detected only by tapping the metal and listening for the dull thud that indicates section loss behind the skin. The area around the heater intake aperture is similarly prone, exposed to both moisture ingress from outside and condensation from within. By the time these areas look concerning visually, the structural section loss is typically already significant.
Repair or Replace
The decision between repair welding the original bulkhead and replacing it with a new aluminium or galvanised steel unit is informed by two factors: the extent of corrosion, and the vehicle’s intended purpose. Originality-focused restorations may justify thorough repair of a salvageable original; expedition-prepared or hard-use builds often benefit from a new unit that removes the variable entirely. Neither choice is automatically correct. What matters is that the decision is made deliberately, documented, and communicated to the buyer before work proceeds.
This decision also cascades directly into body panel sequencing and electrical loom routing, which is why it cannot be deferred. A late bulkhead replacement resets work already completed elsewhere in the build.
What to Ask
A properly repaired or replaced bulkhead produces doors that align, glass that seals correctly, and an interior that stays dry. When evaluating a specialist, ask directly what the bulkhead condition report showed and what was done in response. A vague answer, or no condition report at all, reliably indicates that this stage was not executed with sufficient rigour.
Stage 4: Drivetrain Disassembly, Assessment, and Rebuild
Drivetrain work does not begin when the chassis and bulkhead are finished. It runs concurrently, deliberately timed so that engines and gearboxes are not refitted onto a chassis that subsequently needs further weld repair or hot work. Reinstalling a rebuilt unit before the chassis is fully signed off is a sequencing error that forces unnecessary disassembly and introduces contamination risk. A competent specialist schedules the drivetrain strip against the structural timeline from the outset.
Engine assessment begins with compression and leak-down testing across all cylinders, followed by valve clearance checks and a review of any available oil consumption history. Cooling system condition receives particular scrutiny on original engines, where internal passages and head integrity can only be confirmed under test rather than by visual inspection. Any engine presenting with a history of overheating is treated as a head-integrity concern until proven otherwise.
The rebuild-versus-replace decision is driven by four factors: bore wear measured against manufacturer tolerances, crank journal condition, head integrity under pressure test, and the quality of documentation for any previous rebuild. An engine with credible, dated rebuild records sits in a very different risk category to one described as “recently done” without paperwork. Where doubt exists, replacement or a full documented rebuild is the correct decision, not an optimistic assessment.
Gearbox and transfer box inspection addresses synchromesh condition, bearing wear, and seal integrity throughout; experienced Land Rover specialists can grade these consistently against known wear patterns. Transfer boxes are inspected for chain wear, selector detent condition, and output seal integrity.
Every reconditioned or rebuilt drivetrain assembly should leave the workshop with a written parts specification and a mileage or hours warranty. Units offered without documentation are a procurement risk regardless of external presentation. A clean engine bay proves nothing about what is inside.
For expedition builds, drivetrain cooling capacity, oil cooler condition, and auxiliary drive provisions are specified and integrated at this stage. Upgrading these systems after the vehicle is assembled is substantially more labour-intensive. The decisions made here, like those documented across every stage of the Built in the Workshop process, are far easier to get right the first time than to correct later.
Stage 5: Suspension, Axles, and Steering Overhaul
With the drivetrain rebuild confirmed and documented, attention moves to the systems that connect engine output to the ground: suspension, axles, and steering.
Suspension geometry is assessed against the confirmed chassis specification before any components are ordered or fitted. Where a chassis has been replaced or substantially repaired, spring perch positions and suspension mounting geometry must be verified precisely. A new galvanised chassis built to slightly different tolerances from a corroded original can introduce geometry errors that no amount of subsequent alignment will fully resolve if the mounting points are not checked before assembly proceeds.
Swivel housing and hub rebuilds are standard practice on any restoration that will be used seriously. Worn swivel housings introduce play into the steering that compounds progressively; the result is imprecise handling, accelerated and uneven tyre wear, and eventually hub bearing failure under load. New swivel seals, correct preload, fresh wheel bearings, and new hub seals are specified as a complete assembly rather than replaced selectively. Partial swivel work is a common economy measure and a reliable route to premature failure.
Axle casings, differential housing integrity, and half-shaft wear profiles are each assessed and documented separately. Corroded half-shaft splines and marginal diff housings are not detectable without disassembly; a visual inspection tells you almost nothing about what is happening inside.
Steering is assessed as a system, not component by component. Steering box condition, drag link geometry, and relay rod wear interact directly; a Defender with a rebuilt drivetrain and worn original steering components will handle poorly regardless of everything else the restoration achieves. The entire system is evaluated together, with replacements specified accordingly.
For expedition and overland builds, suspension specification is determined here and integrated into the build sequence. Uprated springs rated for load and terrain, quality shock absorbers with appropriate damping characteristics, and heavy-duty steering components are chosen at this stage and fitted as part of the restoration. Vehicles prepared with Pods Overland’s focus on more than old Land Rovers reflect this approach: specification decisions made in sequence, not retrofitted as afterthoughts before delivery. For buyers considering the kind of use cases detailed across our destinations content, the difference between integrated and bolted-on specification becomes tangible quickly in the field.
Stage 6: Body Preparation and Metalwork
With the mechanical and structural work confirmed, attention moves to the body, where the most misleading shortcuts in the entire restoration are most likely to occur.
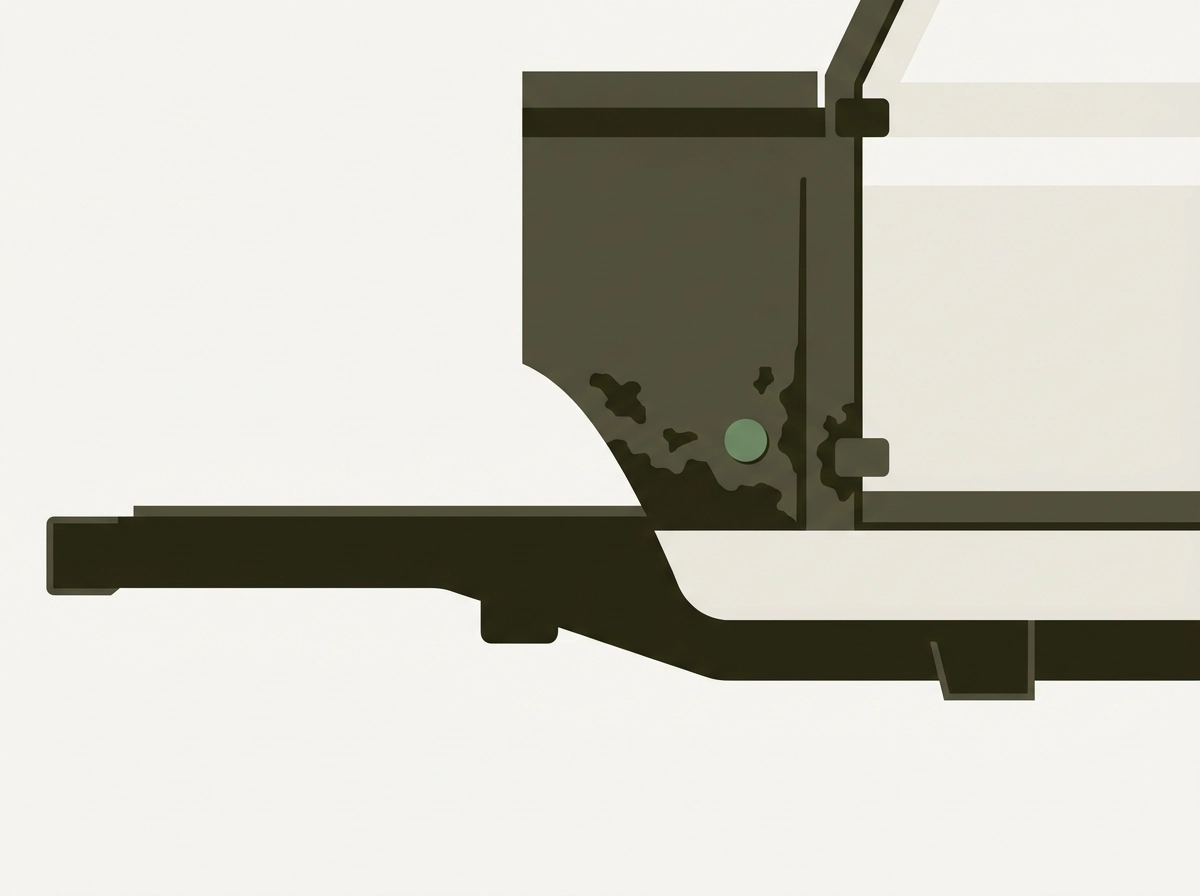
Understanding where Defenders actually corrode is the starting point. The aluminium panels themselves are rarely the problem. Corrosion concentrates at the steel fixings, door frames, lower body cappings, and anywhere aluminium and steel are in direct contact without adequate isolation. Assessment at this stage focuses on those interfaces, not the panel faces that are visible at a glance.
Rust Treatment: Sequence Matters
Steel body components require more than surface preparation. Proper treatment follows a defined sequence, surface preparation, primer, and seam sealing at every lap joint, with each step allowed to cure before the next proceeds. Compressing this sequence to save time produces a surface that looks correct briefly and fails predictably.
The Paint Preparation Problem
High-build filler applied over inadequately treated steel is the single most common corner cut in cosmetic restorations. It produces a visually acceptable result in the workshop and fails predictably in service as moisture works through the filler and oxidisation resumes beneath it. A buyer viewing a freshly painted vehicle cannot distinguish correct preparation from inadequate preparation by eye, which is precisely why the shortcut persists.
Paint Timing in the Build Sequence
Paint is a late-stage process. Workshops that apply final paint before mechanical completion routinely damage the finish during subsequent assembly work and then apply further cosmetic correction to mask the evidence. That correction does not address the original preparation; it adds another layer above it. Paint should follow mechanical sign-off, not precede it.
Panel Alignment as a Quality Indicator
Door fit and panel gaps are quality benchmarks a buyer can assess directly on delivery. Even gaps, doors that open and close without binding, and a body that sits square on the chassis indicate that preceding stages were executed correctly. Misaligned panels or binding doors under a fresh coat of paint are a reliable signal that earlier structural work was not completed to the required standard.
For collector-grade restorations, colour matching is referenced against factory records. Decal placement and badging are confirmed with buyer input and documented before any paint stage begins.
Stage 7: Electrical Rebuild and Systems Integration
With the bodywork completed and paint cured, electrical work begins before any interior or final assembly proceeds. This sequencing is deliberate: access to loom runs, earth points, and bulkhead penetrations is far cleaner on a stripped vehicle than after trim is installed.
Wiring loom condition is rarely cosmetic. Original Defender looms accumulate decades of heat cycling, vibration, and moisture ingress, and the failure modes are predictable: insulation becomes brittle, connectors corrode internally, and chafed sections develop intermittent faults that are genuinely difficult to trace once the vehicle is assembled. A thorough restoration involves physically inspecting the full loom run, section by section, and replacing any part showing insulation breakdown, discolouration, or connector corrosion. Fitting a restored vehicle with a degraded loom is a false economy.
Fuse boards and earth straps are the two most common sources of post-restoration electrical gremlins. Both are inexpensive to address at this stage; both become time-consuming and costly to diagnose once the vehicle is complete and in use. Earth strap integrity underpins virtually every circuit on the vehicle, and a marginal connection that passes a static test can still generate intermittent faults under load or vibration. These are addressed as standard, not assessed as optional.
Lighting systems, indicators, and switches are replaced to a documented specification confirmed with the buyer. LED conversions offer clear advantages in current draw and longevity; period-correct halogen restoration suits originality-focused builds. The decision is the buyer’s, made explicitly, not defaulted by the workshop.
For expedition and overland builds, auxiliary electrical design happens here. For expedition builds, Pods Overland integrates auxiliary circuits, second battery, isolator, 12V and USB distribution, and supplementary lighting, directly into the primary loom rather than surface-wiring additions. Surface-wired additions introduce connection points, routing compromises, and load management problems that a properly designed system avoids entirely.
Vehicles being prepared for the US market require specific compliance attention at this stage. Lighting specifications and electrical configurations that satisfy UK regulations do not automatically meet US import requirements, and building compliance into the specification from the outset is substantially simpler than retrofitting it.
Stage 8: Specification, Interior, and Final Build
With the electrical systems integrated and signed off, final build is where every preceding stage either compounds into a coherent vehicle or exposes the gaps left by shortcuts taken earlier.
Interior specification is not a cosmetic afterthought. Seat mounting provisions, roll cage integration points, and instrumentation placements are all determined by decisions made during bulkhead repair and chassis fabrication. A cage that lands on a properly gusseted chassis section is structurally sound; one retrofitted against unprepared metalwork is a liability. This interdependency is why specification conversations must happen at the project’s outset, not once mechanical assembly is nearly complete.
The quality of trim and upholstery is one of the few aspects of a restoration a buyer can assess directly on delivery, and it is reliably diagnostic. Consistent stitching, materials specified to purpose, and bespoke components that sit flush against restored metalwork without gaps or binding indicate disciplined execution throughout the build. Sloppy interior fit is rarely isolated; it usually reflects the same tolerance for approximation that produced marginal welds or inadequate surface preparation earlier in the process.
Final sign-off reviews every stage’s condition record against the original specification; any variance is documented, not absorbed. This is a meaningful distinction between professionally run restorations and those that manage scope informally.
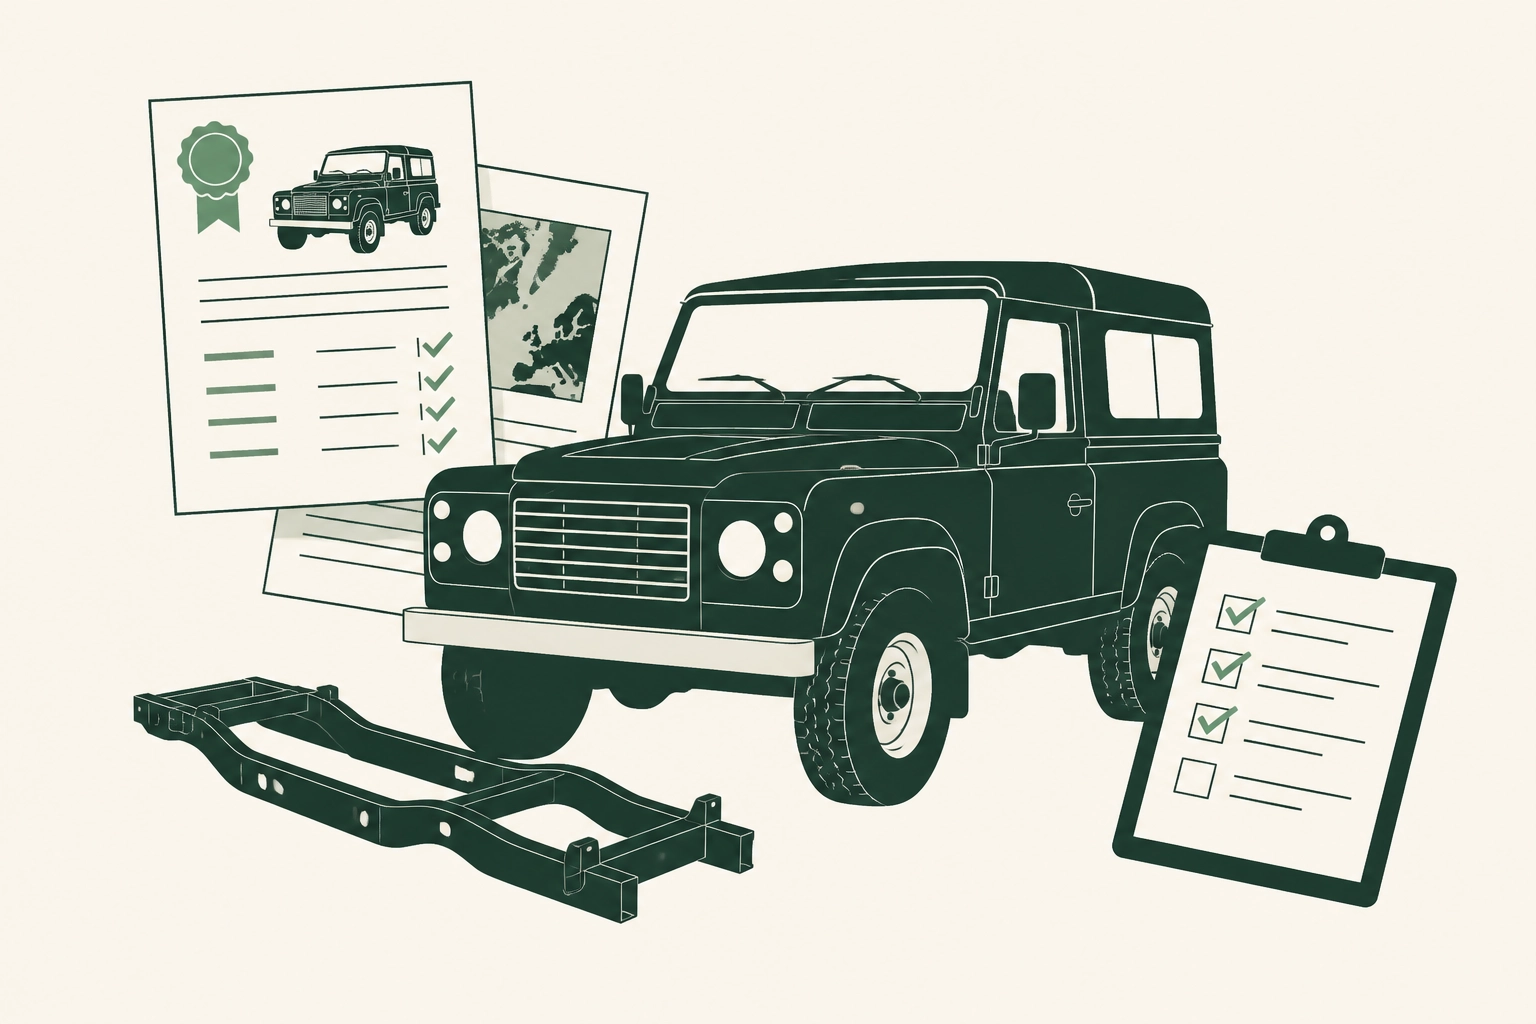
A properly conducted restoration produces a vehicle file: photographs from each stage, condition reports, parts specifications, mechanical rebuild records, and paint documentation. This file is not administrative overhead; it constitutes a significant part of the finished vehicle’s provenance value and provides the next owner with a credible maintenance baseline.
For Pods Overland vehicles, specification integration at this stage ensures the finished Defender is coherent with its purpose. A carefully preserved original is finished and documented accordingly. A fully expedition-prepared overland build receives the same rigour applied to a different brief.
How to Evaluate a Workshop’s Process Before You Commit
That vehicle file, assembled across eight sequential stages, is only as valuable as the process that created it. Before you commission a restoration, these are the questions that separate a serious workshop from one selling outcomes it cannot consistently deliver.
Ask for the strip-down protocol before any price is discussed. A specialist offering advanced restoration services should be able to describe, precisely, what their pre-work assessment documents: which failure zones are photographed, what condition data is recorded, and how findings are presented to the buyer before authorisation proceeds. If the answer is vague, the process is vague.
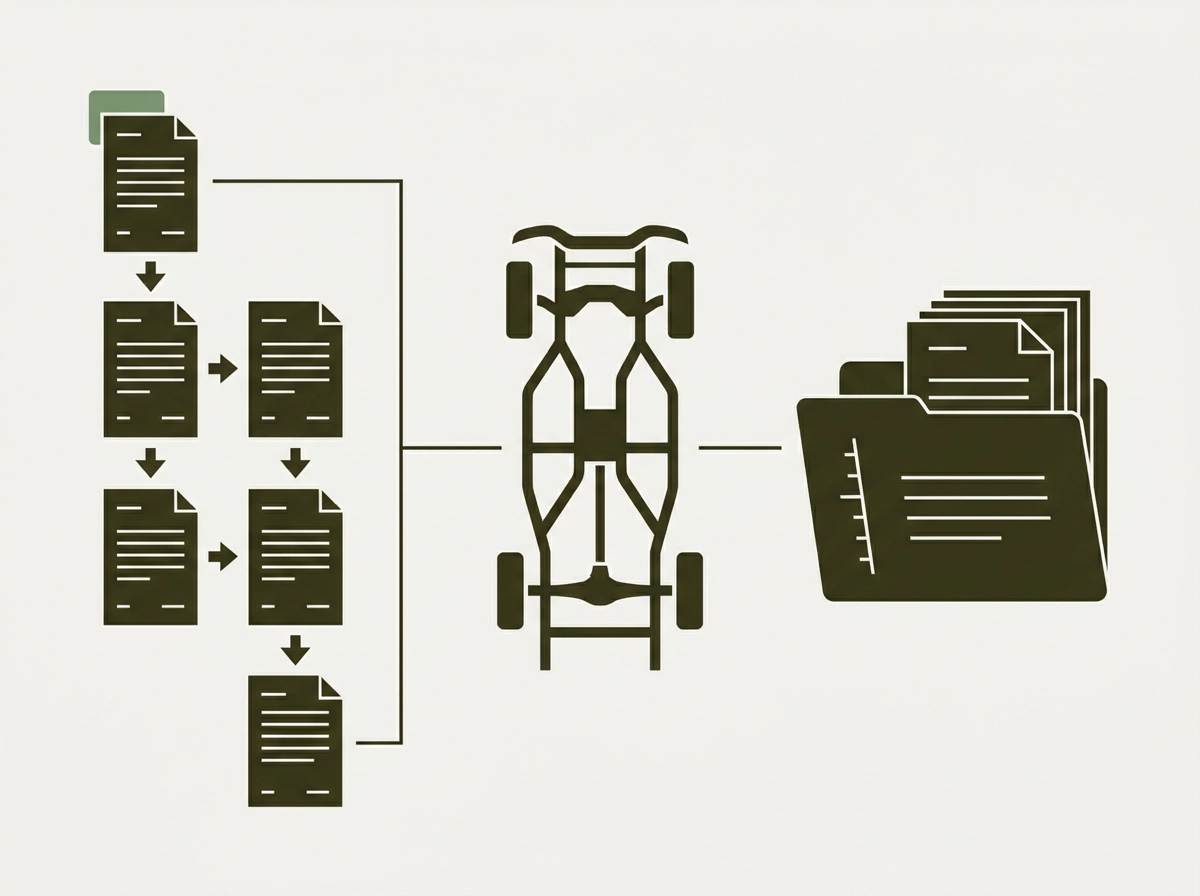
Request photographic documentation from a completed build. Not marketing images; stage-by-stage records from bare chassis through to mechanical assembly. Any workshop confident in its methodology can produce these without hesitation. Reluctance to share them is a meaningful signal about what those stages actually looked like.
Ask how scope changes are handled. Strip-down regularly uncovers work that could not be anticipated before disassembly. A professionally run operation has a defined change-control process: findings are documented, costed, and presented for buyer sign-off before work continues. A workshop offering a flat-price guarantee on a vehicle it has not yet disassembled is either guessing or absorbing uncertainty by cutting corners later.
Verify drivetrain documentation specifically. “Fully rebuilt” is not a specification. Ask what components were renewed, to what standard, and what warranty applies to the assembly. That distinction matters considerably when something fails two years after the vehicle leaves the workshop.
For US buyers sourcing through a UK specialist, confirm that compliance preparation, shipping documentation, and handover records are integrated into the restoration scope from the outset. These elements handled informally at the end of a project create gaps in the vehicle’s history and introduce avoidable delays.
Every vehicle in the Pods Overland collection reflects that standard, built and selected for buyers who understand what a properly executed restoration actually requires.
What a Properly Documented Restoration Delivers
When a Defender has been through every stage described in this piece, the result is not simply a vehicle that looks correct. It is a vehicle whose condition is known, verified, and recorded at every structural and mechanical level. That distinction matters enormously, whether the vehicle is heading into the field or into a collection.
The documentation generated by a rigorous, sequential restoration is a genuine asset in its own right. Since DVLA policy changes took effect on 26 August 2025, well-documented restorations support retention of original registration identity, reduce the risk of Q-plate issuance, and provide the evidential record that regulators, insurers, and future buyers increasingly expect. That vehicle file, established as a provenance asset in Stage 8, now carries regulatory weight too.
Buyers who have read this far are now equipped to do something most cannot: evaluate a quote against a process. You know which stages exist, what each one involves, and where corners are typically cut. That knowledge makes the right questions obvious and the evasive answers conspicuous.
Ask about the build behind any vehicle in the Pods Overland collection, the answer should be immediate and detailed.
Conclusion
A chassis-up Defender restoration is not a single event; it is a sequence of interdependent stages, each one building the integrity of everything that follows. The process demands rigorous assessment at every level, honest decision-making over shortcuts, and documentation thorough enough to stand up to regulatory and commercial scrutiny.
The key takeaways are straightforward: process determines outcome, documentation protects value, and the questions you ask before committing reveal more than any showroom finish ever will.
A properly restored Defender is a capable, dependable vehicle with a verified history and a future to match. That is what the right process delivers.
If you are ready to explore the collection at Pods Overland, or simply want to understand the build behind a specific vehicle, get in touch. Ask your questions. A process built on nothing worth hiding will always welcome them.

Leave a Reply